Understanding Wallpaper Types
When embarking on the endeavor of removing wallpaper from painted walls, it is essential to understand the various types of wallpaper that may be present. The most common categories include vinyl, paper, and fabric wallpapers, each possessing distinct characteristics that can significantly influence the removal process.
Vinyl wallpaper is a popular choice due to its durability and ease of cleaning. It typically consists of a paper backing coated with a layer of plastic material. This type of wallpaper is resistant to moisture, making it suitable for high-humidity areas such as bathrooms and kitchens. However, its resilience can complicate removal efforts since the vinyl layer may cling tightly to the paint underneath. Special measures, such as using a wallpaper steamer or solution, might be necessary to loosen the adhesive effectively.
In contrast, paper wallpaper is often seen as a traditional option, featuring a paper backing without any plastic coating. While it is easier to remove compared to vinyl, its susceptibility to moisture can lead to tearing during the process. This type of wallpaper often releases from the wall more readily, provided it has not been painted over or adhered with a stronger adhesive. For a successful removal, it is advisable to gently dampen the paper prior to peeling to minimize damage to the underlying paint.
Fabric wallpaper, though less common, can present unique challenges as well. This type is typically made from textile materials bonded to a backing. It may enhance the aesthetics of a room, but the removal can be labor-intensive due to its texture and potential for leaving residue behind. Understanding these characteristics can aid individuals in preparing for the task ahead effectively, ensuring that the right tools and methods are chosen based on the specific wallpaper type they are dealing with.
Preparing the Room
Before embarking on the wallpaper removal process, it is essential to adequately prepare the room to ensure a smooth and efficient task. Suitable preparation not only enhances effectiveness but also minimizes potential damage to the surroundings. The initial step involves clearing the space of any furniture, decor items, and personal belongings. This not only creates a safe working environment but also protects valuable items from potential harm or stains during the removal process.
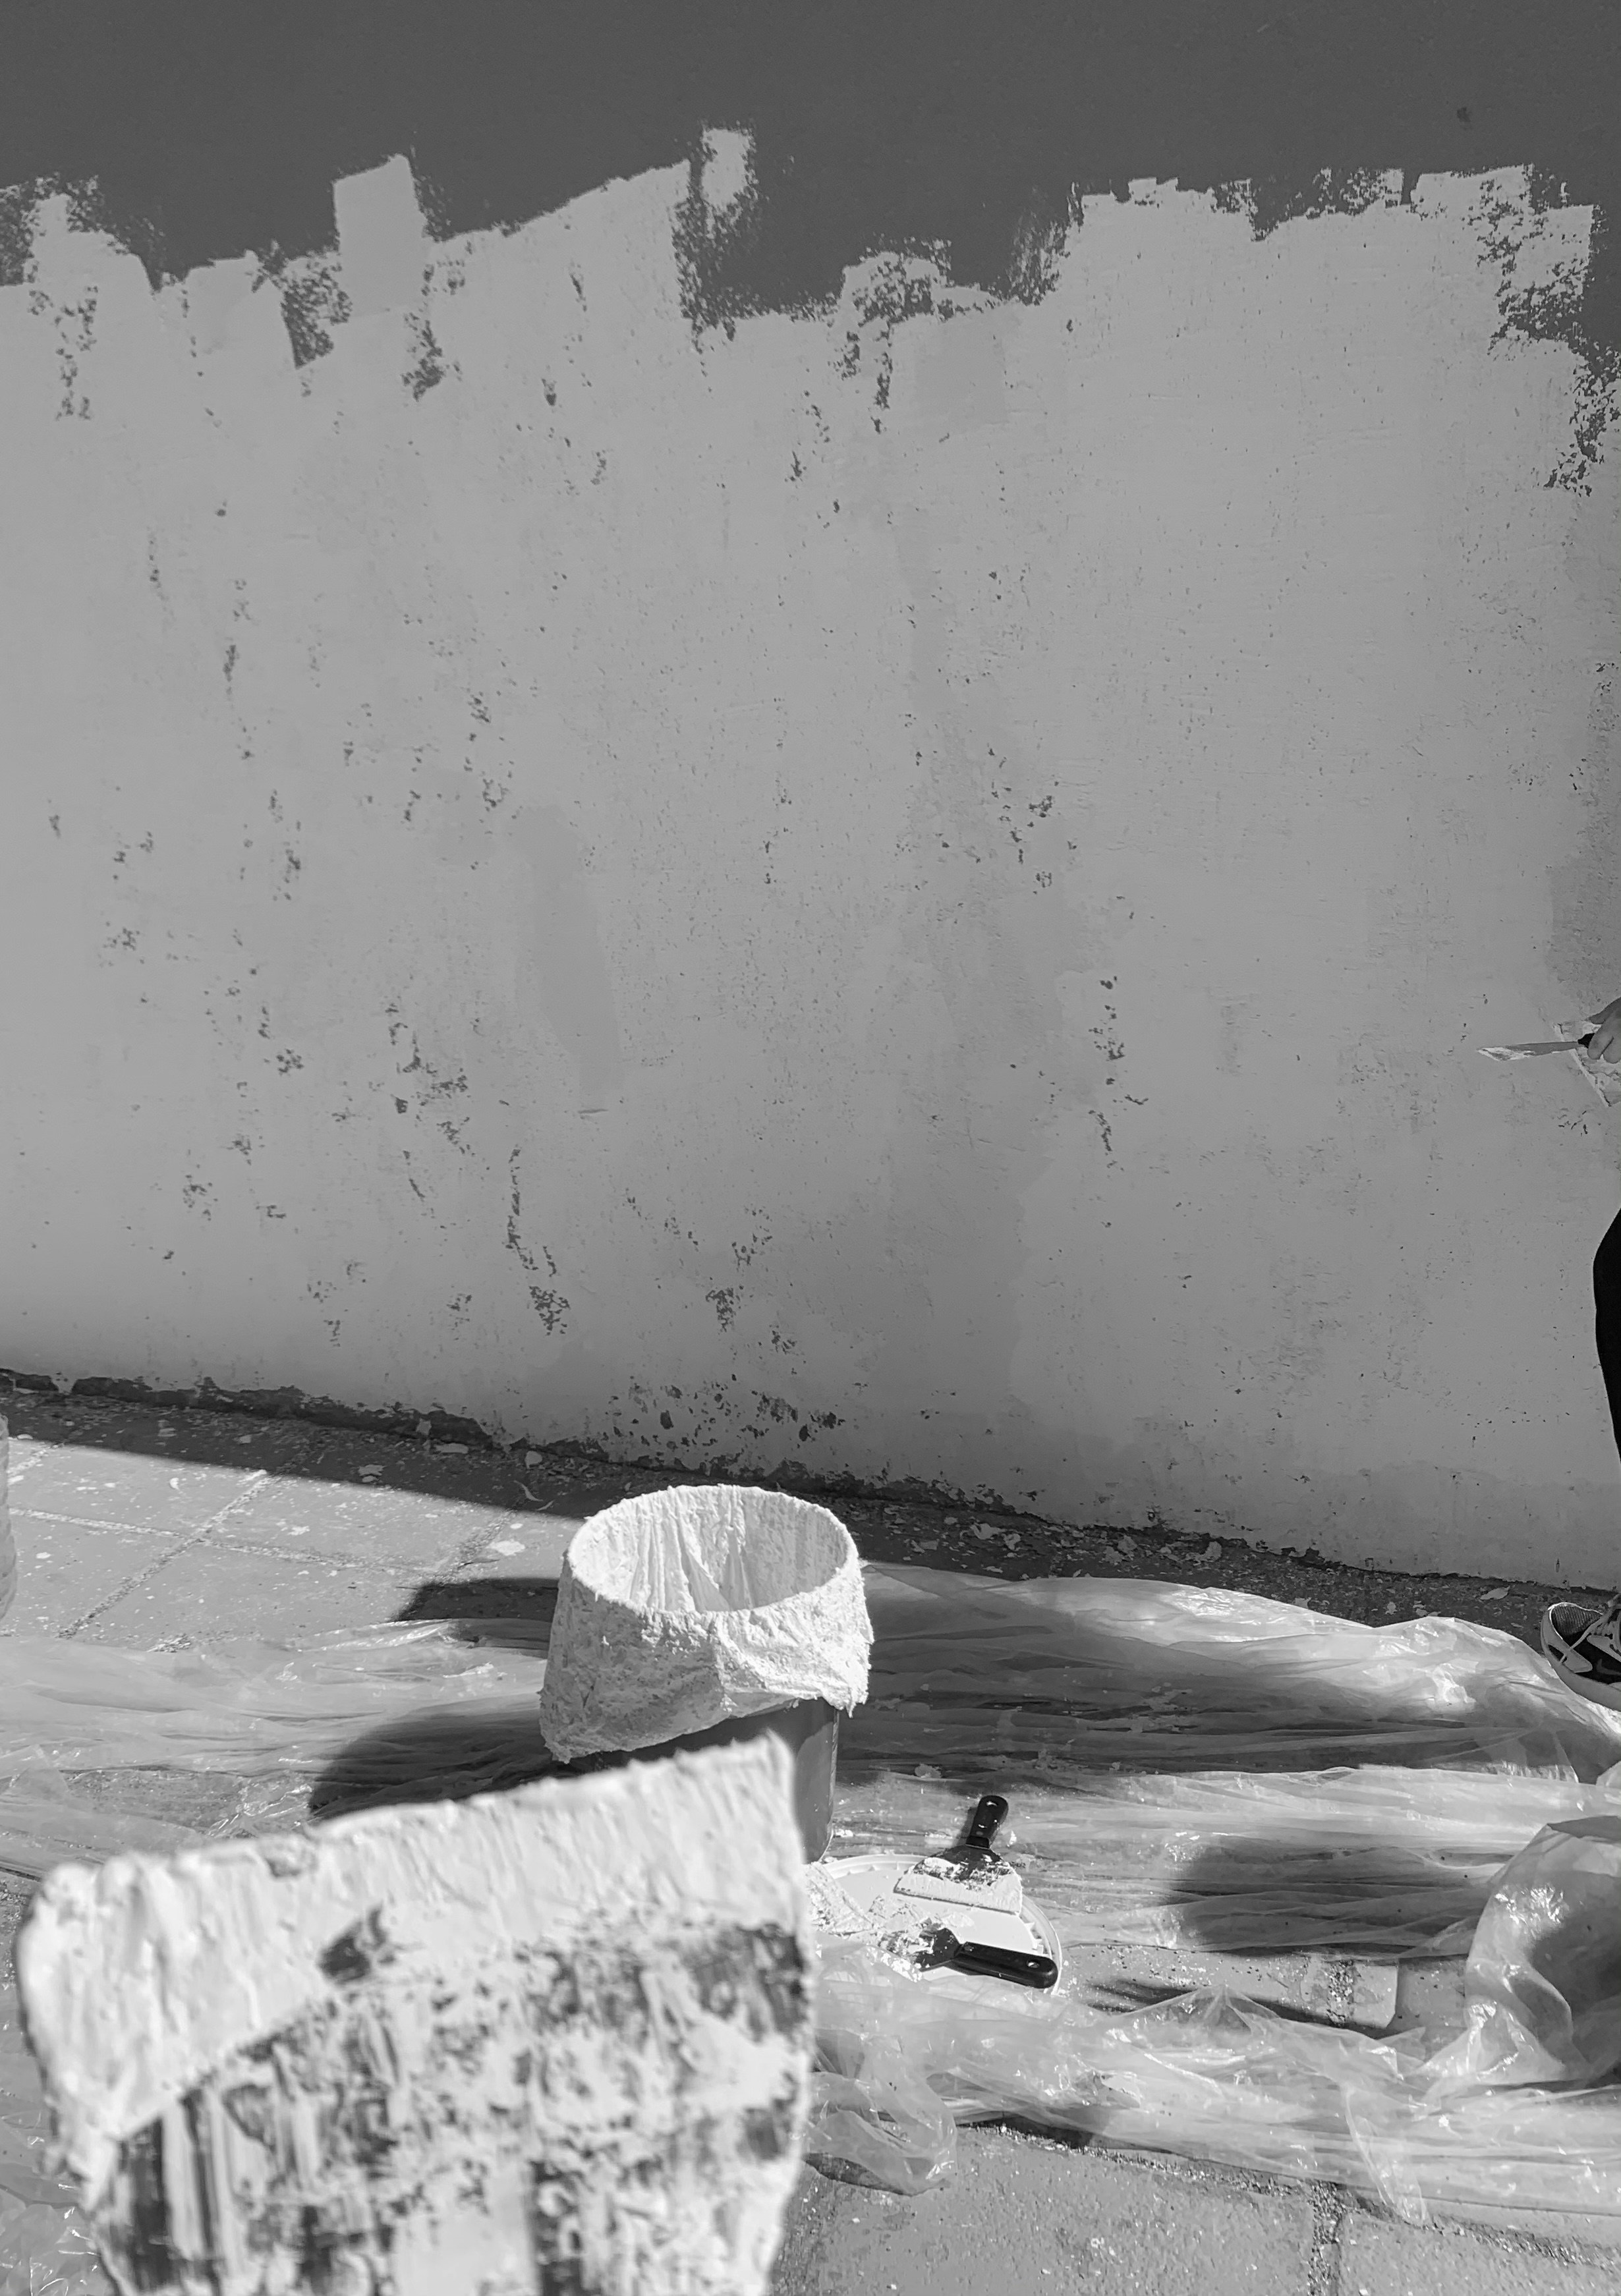
Once the area is cleared, it is important to cover the flooring and any remaining fixtures with drop cloths or plastic sheeting. These protective coverings will shield the floors from water damage and adhesive residue, which is common during wallpaper removal. If the room features baseboards or moldings, tape can be used to secure the drop cloths in place, preventing slips or further damage. Taking these precautions is essential, as they will save time and effort during the cleanup stage, ultimately contributing to a more efficient workflow.
Gathering the necessary tools and materials is another crucial component of preparation. Essential items may include a wallpaper scraper, a utility knife, a sponge, and a bucket filled with warm water or a wallpaper removal solution. Having these tools readily available will enable a seamless transition into the actual removal process. Additionally, consider wearing protective gear such as gloves and goggles to safeguard against irritants associated with wallpaper adhesives. Lastly, ensure that the room is well-ventilated to counteract potentially harmful fumes from any chemical solutions utilized. Clear planning and preparation of the workspace will facilitate a more effective and less stressful wallpaper removal experience.
Assessing the Wallpaper Adhesive
Determining the type of adhesive used for your wallpaper is a crucial step in the removal process. The adhesive can significantly influence the methods and tools you will need to successfully strip the wallpaper from your painted walls. Generally, wallpapers are installed using either strippable or non-strippable adhesives. Understanding which type is present will help you avoid unnecessary damage to your walls and ensure a smoother removal experience.
To assess the wallpaper adhesive, begin by locating a corner or edge of the wallpaper where you can peel it back gently. If the wallpaper comes off easily and reveals a clean surface beneath, it is likely strippable. This type of wallpaper is specifically designed for easy removal, allowing homeowners to update their décor with minimal effort. On the other hand, if the wallpaper resists peeling and tears instead of coming off in sections, it may suggest a non-strippable adhesive. Non-strippable adhesives often require more intensive methods for removal, such as soaking or using chemicals.
Another effective way to test the adhesive’s strength is to perform a small water test. Dab a sponge or cloth soaked in warm water against a concealed section of the wallpaper for a minute or two. Observe how the wallpaper reacts; if it starts to bubble and loosen, it is likely that the adhesive is water-soluble, indicating a strippable wallpaper. Conversely, if there is little to no change, the adhesive is probably strong and might be non-strippable. This initial evaluation will guide your choice of removal techniques, impacting both the time and effort required for the task.
Tools and Materials Needed
Removing wallpaper from painted walls can be a meticulous task, requiring the right tools and materials to ensure the job is done efficiently and effectively. First and foremost, a quality wallpaper remover is essential. These products typically come in liquid or gel forms and are designed to help dissolve the adhesive that holds the wallpaper in place. Some removers are environmentally friendly, making them a suitable choice for those concerned about chemical exposure.
In addition to wallpaper removers, having a variety of scrapers and putty knives is crucial. A flexible wallpaper scraper will allow you to carefully peel back the wallpaper without damaging the underlying paint. A putty knife can also aid in lifting the edges of the wallpaper or scraping off any remaining adhesive post-removal. Choose scrapers with different blade widths for versatility in various areas, especially in corners or tight spaces.
Another tool worth considering is a wallpaper steamer. This tool can be particularly effective for removing stubborn wallpaper, using steam to loosen the glue. While steamers can be more expensive than other options, they often work faster, making them a worthy investment for larger projects. However, it is essential to exercise caution when using steam, as excessive heat can damage painted surfaces.
Completing your arsenal, a sponge or cloth will be necessary for cleaning surfaces after removal and a bucket for holding the wallpaper remover solution or water. Additionally, protective gear such as gloves and goggles is recommended to ensure safety during the process. Each of these tools and materials possesses distinct advantages and drawbacks, so careful selection based on the specific wallpaper and wall condition will ultimately facilitate a smoother removal experience.
Step-by-Step Wallpaper Removal Techniques
Removing wallpaper from painted walls can be a challenging task, but with the right techniques, it can become manageable and efficient. There are several methods to consider, each with its own set of advantages and best practices. Below are detailed instructions for three common techniques: wet methods, dry stripping, and steam removal.
Wet Method: This technique involves applying water to loosen the adhesive used for the wallpaper. Start by gathering your tools, which will include a spray bottle, a putty knife, and a sponge. Begin by thoroughly soaking a section of the wallpaper using the spray bottle. Allow the water to penetrate for about 15 minutes. Next, using the putty knife, gently lift the edge of the wallpaper and peel it away from the wall. If resistance is encountered, apply a bit more water and continue the process. Remember to keep the wall surface damp; this will facilitate easier removal.
Dry Stripping: In certain scenarios, the wallpaper may respond well to dry stripping. This method involves pulling the wallpaper directly off without the use of water. Start by finding a corner of the wallpaper. Carefully pull it away from the wall at a 45-degree angle. If the wallpaper tears, use the putty knife to lift the remaining pieces. As the paper is lifted, ensure that any residual adhesive is removed to achieve a clean surface.
Steamer Use: A steam wallpaper remover can make the process quicker and more effective. Begin by positioning the steamer against the wallpaper for several seconds, allowing the steam to penetrate the material. Following this, use your putty knife to lift the wallpaper gently. This method is particularly useful for thicker wallpapers and those with multiple layers. Exercise caution when handling the steamer to avoid burns or damage to the painted wall underneath.
Each of these techniques requires patience and care, but with attention to detail, the removal process can be accomplished successfully, revealing a fresh canvas on your painted walls.
Dealing with Residue and Adhesive
Once the wallpaper has been removed from painted walls, it is not uncommon to encounter leftover adhesive residue. This residue can be unsightly and may hinder the preparation process for painting. Therefore, it is essential to address this issue before proceeding further. Various methods exist for removing wallpaper adhesive, each with its own distinct advantages and procedures.
One effective approach is to utilize commercial adhesive removers. These products are specifically formulated to dissolve the types of adhesives used in wallpaper applications, making them a potent choice for restoration efforts. When applying a chemical adhesive remover, it is important to follow the manufacturer’s instructions closely to ensure safe and effective removal. Test the product on a small, inconspicuous area first to gauge its impact on the paint beneath the wallpaper.
Alternatively, home remedies can also be employed for residue removal. A mixture of warm water and vinegar has been a tried-and-true option for many. By combining equal parts of each, one can create a solution that helps to break down the adhesive without the harsh chemicals found in commercial products. When using this method, it is advisable to apply the solution with a sponge, letting it sit for several minutes to soften the glue before wiping it away gently.
Regardless of the removal method chosen, thorough rinsing of the walls is crucial to ensure that all residue is completely eliminated. This step will not only improve the aesthetics of the wall but also prepare it adequately for a new coat of paint. After the adhesive has been successfully removed, it is prudent to inspect the surface for any imperfections that may require patching or sanding prior to painting, ensuring a professional finish.
Repairing Drywall After Removal
After successfully removing wallpaper, it is not uncommon to encounter damage to the underlying painted walls or the drywall itself. Assessing this damage early will allow you to determine the extent of repairs needed. Begin by inspecting the wall for any visible holes, tears, or areas where the paper has pulled off the paint. A thorough inspection will provide a clear understanding of what minor repairs are necessary to restore the surface to its original condition.
For small holes or dents in your drywall, a simple patching compound can be an effective solution. Utilizing a putty knife, apply a thin layer of joint compound to the damaged area, ensuring it fills the hole completely. Once the compound has been applied, smooth it out with the knife, feathering the edges to blend it with the surrounding wall. Allow the compound to dry as per the manufacturer’s instructions—typically, this may require several hours. After it has dried, lightly sand the area with fine-grit sandpaper to achieve a seamless finish.
If the wallpaper removal has resulted in larger damage, such as significant tearing or deep gouges, it may be necessary to use a larger patch. A piece of drywall can be cut to fit the damaged area, which should then be affixed to the wall using drywall adhesive or screws. Ensuring a secure and flush fit is important before proceeding to tape the seams with drywall tape and applying joint compound over the patch. Repeat the sanding process once the compound has dried, taking care to blend the patch with the surrounding surfaces adequately.
After completing these repairs, the wall may require a fresh coat of paint. This can help to unify the surface and ensure any repairs are undetectable. By following these steps, you can restore your walls after the wallpaper removal process, leaving them ready for a new finish.
Repainting or Reapplying New Wallpaper
After successfully removing the old wallpaper and undertaking necessary repairs, homeowners now face an important decision: whether to repaint their walls or apply new wallpaper. This choice not only impacts the overall aesthetic of a space but also influences maintenance and longevity.
If opting for repainting, it is crucial to consider various factors. Start by selecting the right paint type. A matte finish may be suitable for hiding imperfections, while a satin or semi-gloss finish can add elegance and be more durable, especially in high-traffic areas. When choosing colors, it is advisable to keep the room’s lighting in mind; different light conditions can drastically alter the appearance of paint. Sample patches on the wall can help visualize the final outcome. Additionally, using high-quality primers ensures that the paint adheres well and enhances its vibrancy.
On the other hand, those considering new wallpaper should evaluate current trends and personal preferences. Wallpaper comes in a multitude of patterns, textures, and colors, allowing for versatile design options. It is essential to determine the intended mood for the room; bold designs can create a statement, while subtle patterns may provide a more calming effect. Also, consider the practicality of the wallpaper material. Washable options may be ideal for children’s rooms or kitchens where spills are common.
The decision of repainting or applying new wallpaper largely depends on individual tastes and the functional needs of the space. While repainting can offer a fresh look with less commitment, new wallpaper can add texture and uniqueness to a room. Ultimately, thoughtful consideration of various elements will lead to a satisfying transformation and a beautifully finished space.
Safety Tips and FAQs
When embarking on the task of removing wallpaper from painted walls, safety should be a paramount concern. The process can be labor-intensive and may expose individuals to various hazards. Therefore, protecting yourself should be the first step. Always wear protective gear, including gloves and safety goggles, to prevent skin irritation and injury from potential debris. Respirators or masks are also advisable, particularly if you are using chemical wallpaper removers, as these substances can release harmful vapors. Ensuring your workspace is well-ventilated can mitigate these risks further, as fresh air circulation will help dissipate any fumes from chemicals or mold that may be present under the wallpaper.
Additionally, it is vital to prepare the area adequately before you start. This includes moving furniture and covering floors with drop cloths to eliminate potential damage. Ensuring that surfaces are dry and stable can prevent accidents caused by slipping on wet floors. In cases where mold is suspected behind wallpaper, it is essential to handle the situation with care. Mold can pose significant health risks, so consult professional services if necessary to manage its removal properly.
As for frequently asked questions, a common concern involves the types of tools required for this task. While some may rely on scraping tools, a steamer can also be an effective alternative. It’s beneficial to test a small area first to determine which method yields the best results for your specific wallpaper type. Another prevalent question is regarding wallpaper adhesive residue. There are solutions available, including warm water mixed with soap, that can effectively clean residual glue without damaging the wall’s surface. Taking these safety precautions and addressing common concerns ensures a more efficient and safer wallpaper removal experience.